Do you want an Avery 5160 template for Google Docs?
This template is versatile and can be used for labeling containers, files, folders, and almost anything else you can think of.
However, you may be wondering if it’s possible to use Google Docs to print Avery 5160 labels.
The answer is a resounding “yes!”
In fact, it’s quite easy to print these labels using the free template provided in this article.
But why stop at just using the template provided?
You can also create your own custom Avery 5160 template in Google Docs.
This can be especially useful if you have specific label designs or formatting needs that aren’t covered by the pre-made template.
With a few simple steps, you can customize your own template with your own text, images, and formatting.
In this article, we’ll provide a free Avery 5160 template for Google Docs, and we’ll also explain how to create your own Avery 5160 template in Google Docs.
Avery 5160 Template Google Docs
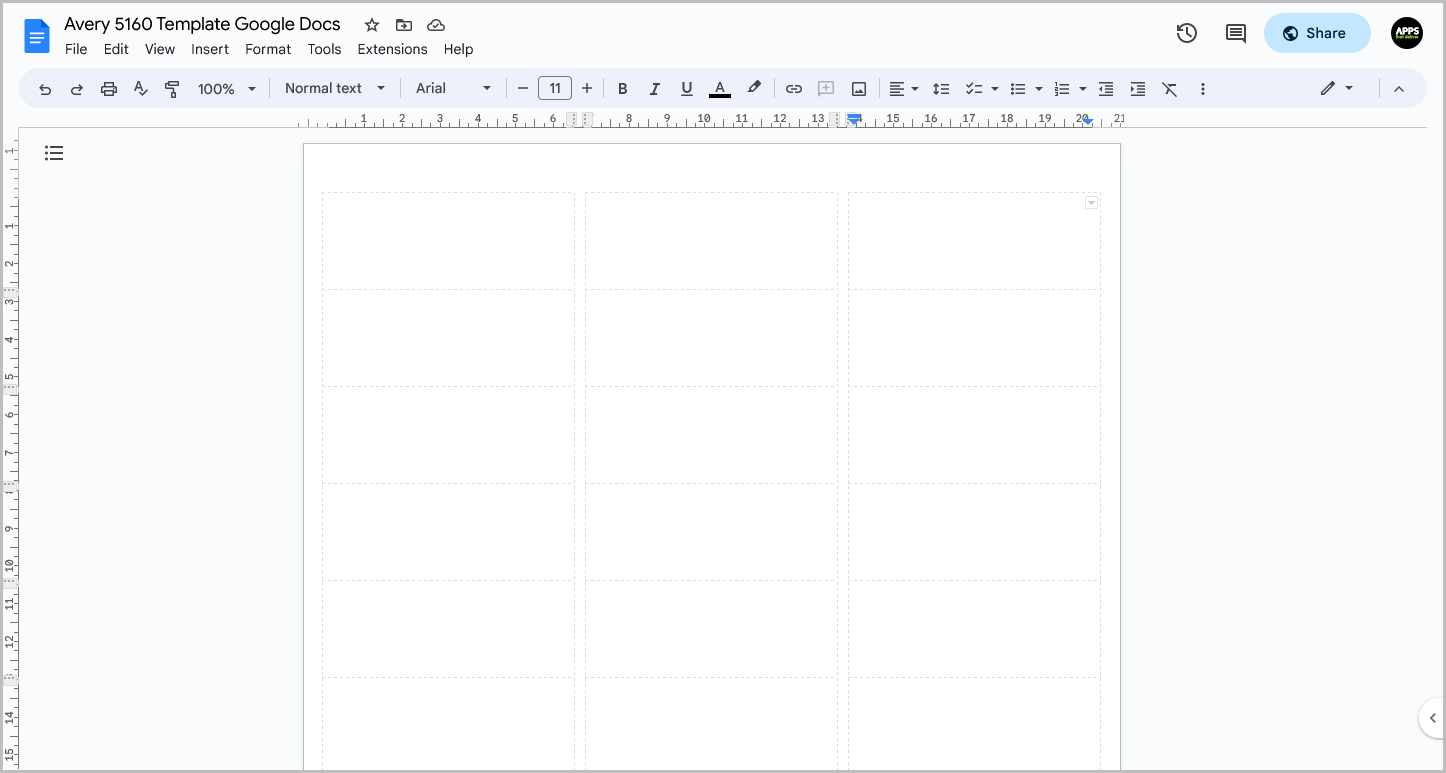
Template link: Click here (opens in new tab)
To make a copy of the template, click on the button above, then click on the “Make a copy” button. After making a copy, edit the labels as desired, then print the document.
Label specifications:
| Labels per sheet | 30 |
| Dimensions | 1″ x 2-5/8″ |
| Page format | Letter – 8-1/2″ x 11″ |
| Page orientation | Portrait |
| Compatible with | 5160 Avery |
How to Create Your Own Avery 5160 Template in Google Docs
Step 1: Open a blank document in Google Docs
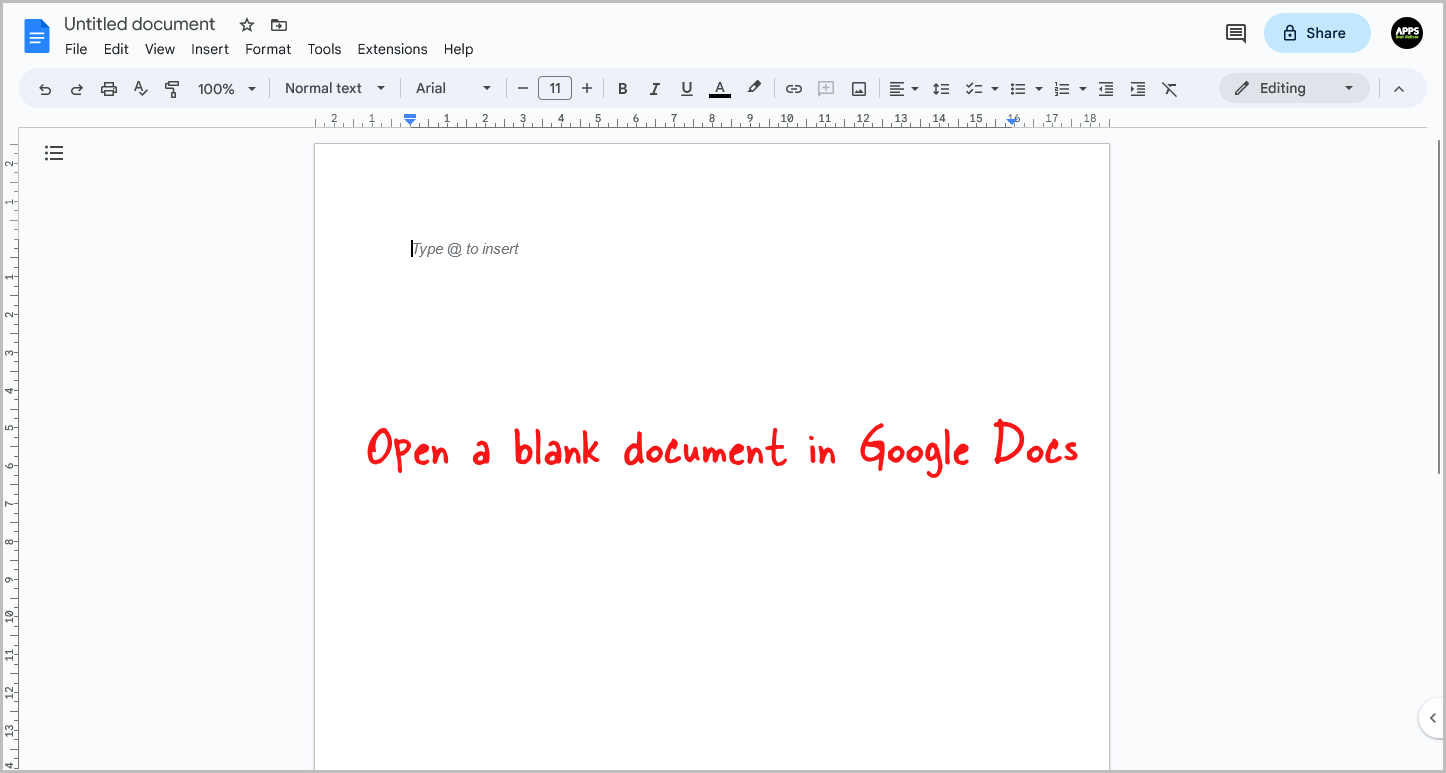
To begin with, accessing Google Docs can be done through any web browser that supports Google Chrome, Mozilla Firefox, or Safari.
Now, navigate to the website docs.google.com.
Once you have landed on the Google Docs homepage, you will see a rectangular box situated in the upper left corner.
This box contains the “+” icon, which you will need to click to open a new blank document.
Step 2: Install the Foxy Labels add-on
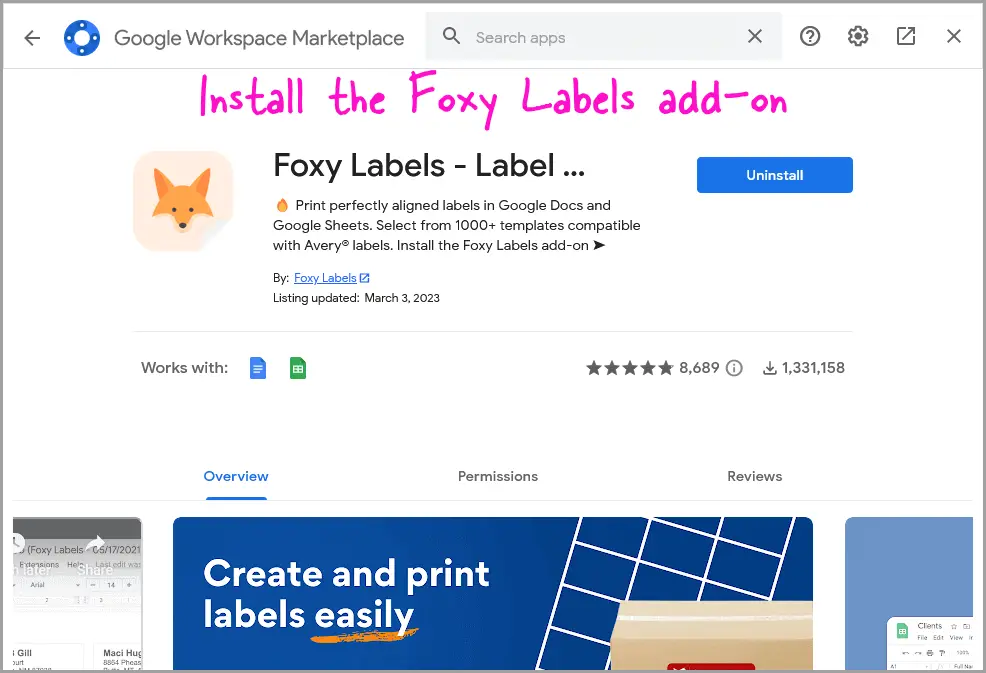
To begin the process of creating a template, we need to install the Foxy Labels add-on.
This can be done by navigating to Extensions > Add-ons > Get add-ons.
Once there, you should search for the Foxy Labels add-on and install it.
During the installation process, you will be prompted to grant certain permissions.
This is necessary for the add-on to function properly.
If you encounter an error during installation, it is likely due to being logged into multiple Google accounts.
To work around this issue, try opening a private or incognito window and signing into your preferred Google account before installing the add-on.
Step 3: Select the “Avery 5160” template
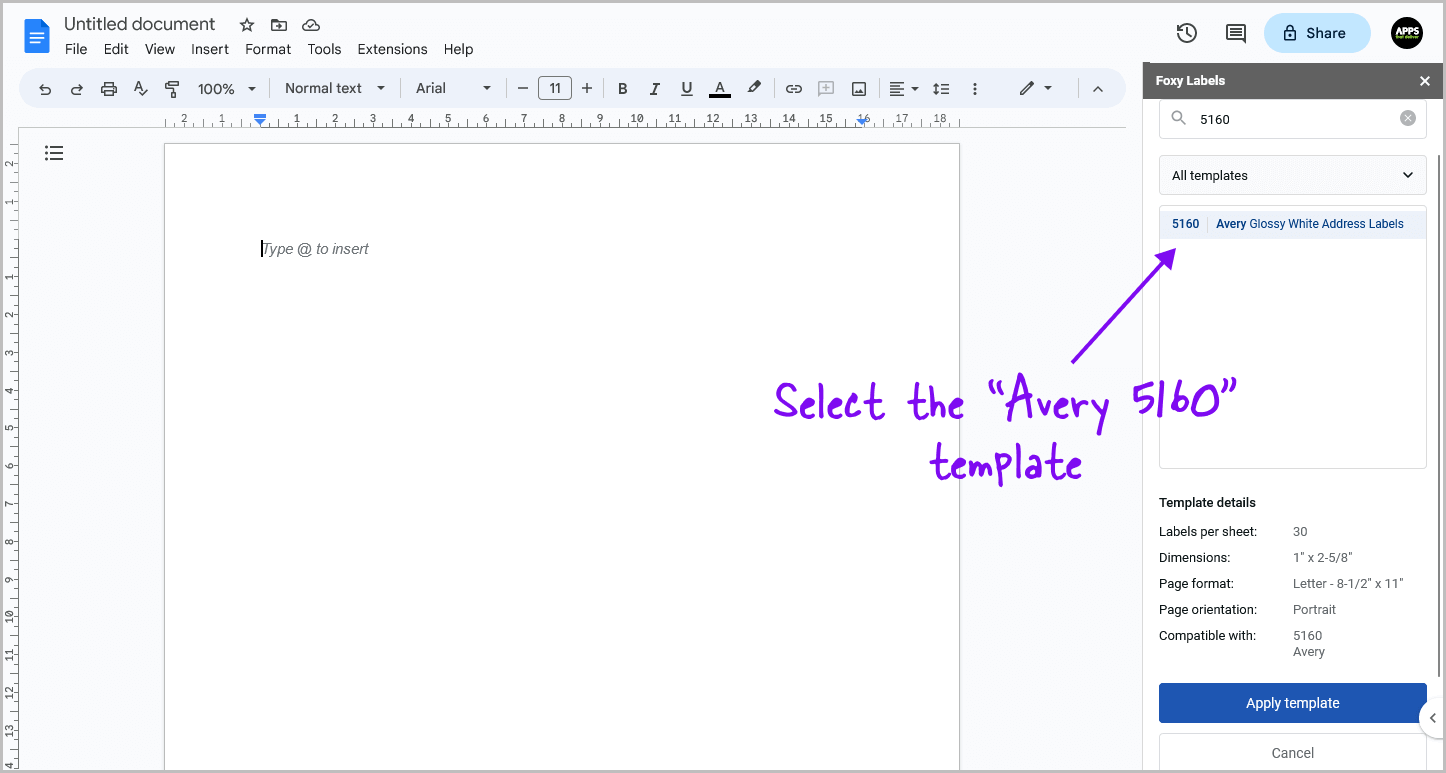
To open the install add-on, navigate to the Extensions tab on the top menu bar of your screen.
Once you have located the Foxy Labels add-on, click on it and select “Create Labels”, which will prompt the Foxy Labels panel to appear on the right side of the page.
Within the Foxy Labels panel, you will see a button labeled “Select a template.”
Click on this button to bring up a list of available templates.
The 5160 template should be among those listed, but if you are having trouble finding it, you can use the search bar to narrow down your options.
After you have selected the 5160 template, click on the “Apply template” button to begin the label creation process.
Step 4: Enter data into labels
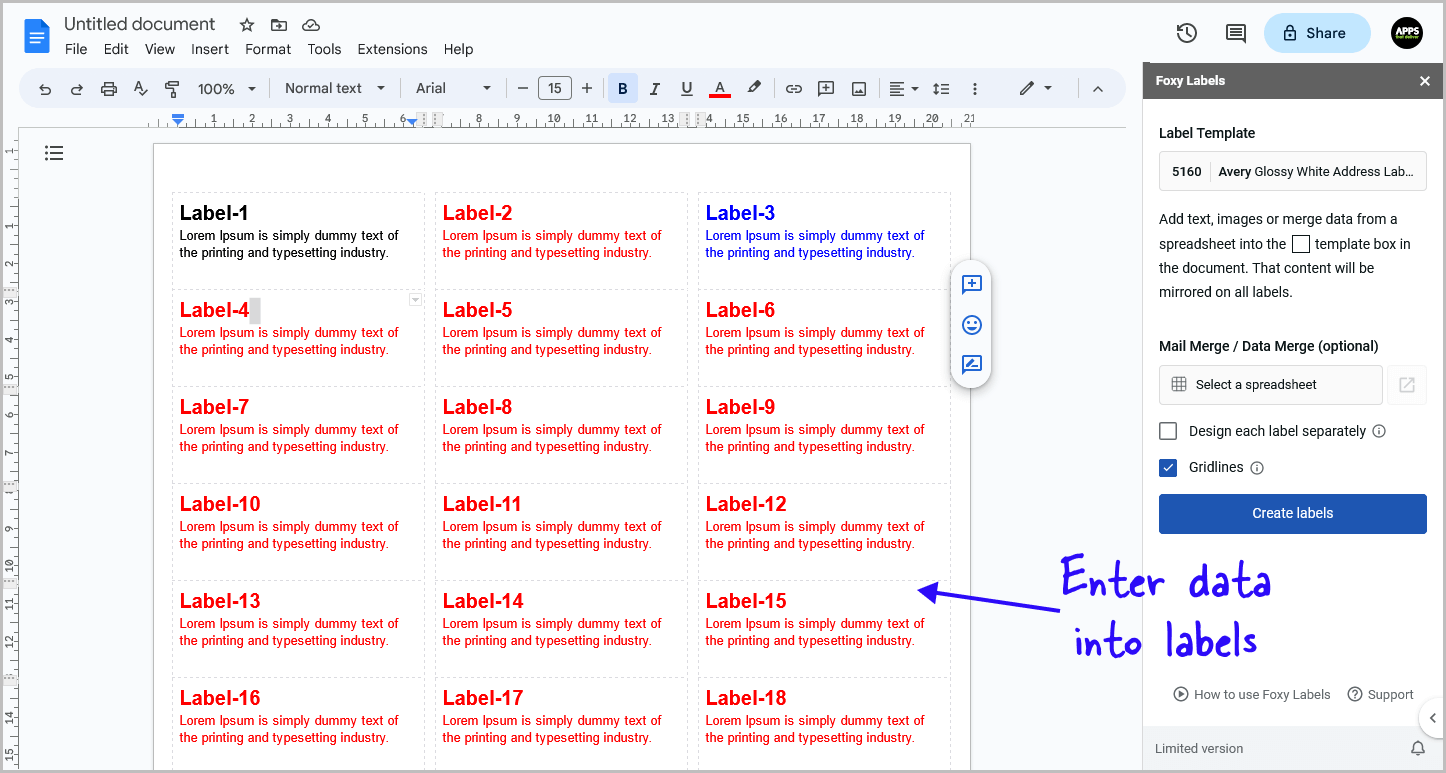
To enter data into the labels, there are a few steps you need to follow.
If you want all the labels to have the same data, you can simply enter the data into the first label, and the add-on will automatically fill the rest of the labels.
However, if you want to enter unique data into every label, you need to manually click on every label and then enter the text.
It’s important to make sure that you fit the text within the available space.
The label expands automatically for the text to fit in, but this can cause problems while printing, so you should avoid that.
If you want to remove the gridlines, you can uncheck the “Gridlines” box.
To create the labels, click on the “Create labels” button.
Finally, click on the “Open” button to open the final document.
Step 5: Print the labels
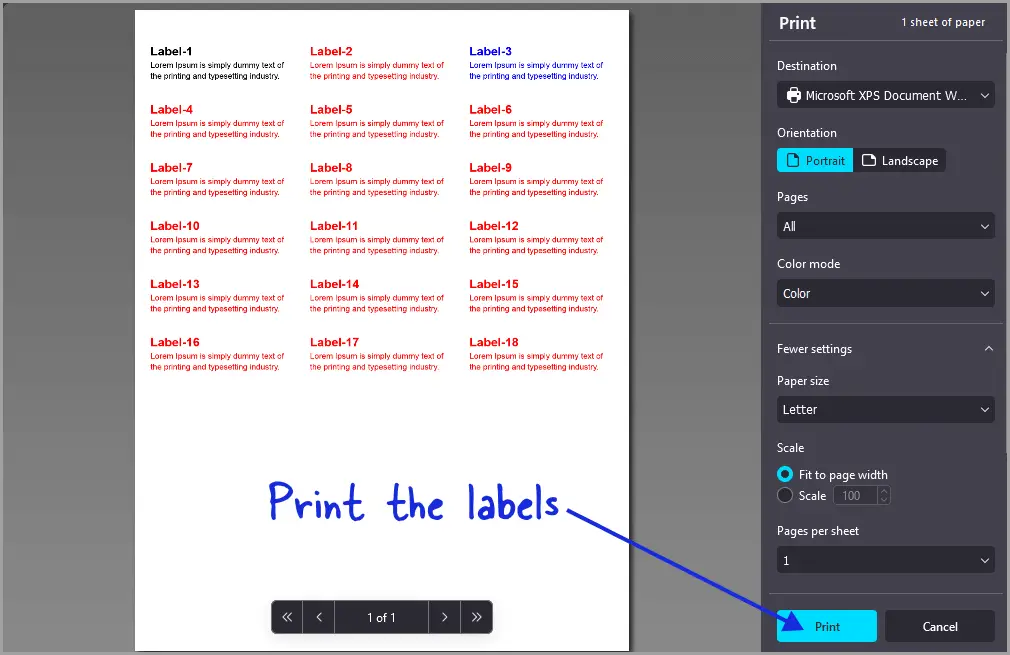
To ensure a smooth printing process, there are a few steps you should follow.
First, carefully insert the sheet into your laser printer, making sure it is aligned properly.
Next, take a few moments to review the labels and double-check that they are free of any errors or typos.
This is also a good time to verify that the labels are correctly formatted and arranged on the sheet.
Once you are satisfied that everything is in order, it’s time to print the labels.
FAQs
How to Print Avery 5160 Labels in Google Docs?
To print Avery 5160 labels in Google Docs, use the free template provided in this article or create your own custom template with the Foxy Labels add-on.
Free Avery 5160 Template Google Docs
To get the free Avery 5160 Template for Google Docs, go to the following link and click on the “Make a copy” button: https://docs.google.com/document/d/1HNbjXZlI473D43FeRzp0ABY0Lv7jjjsMjX4RBKp-2Kg/copy?usp=sharing
Avery 5160 Not Printing Correctly Google Docs
If Avery 5160 labels are not printing correctly in Google Docs, check the page setup. Use the “Letter” page and set the margins as follows: Top – 1.2 cm, Bottom – 0.81 cm, Left – 0.65 cm, Right – 0.79 cm.
Avery Labels 5160 Margins in Google Docs
To set the margins for Avery Labels 5160 in Google Docs, use the following margin values on a “Letter” page size: Top – 1.2 cm Bottom – 0.81 cm Left – 0.65 cm Right – 0.79 cm
Conclusion
In conclusion, printing Avery 5160 labels in Google Docs is easy and can be accomplished using the pre-made template or by creating a custom template with the Foxy Labels add-on.
By following the steps outlined in this article, you can easily create professional-looking labels for all of your organizational needs.
