This blog post will show you how to make a picture circular in Google Slides. The process is fairly simple and will be demonstrated using screenshots. Be sure to follow the steps in this blog post to learn how to make a picture circular in Google Slides.
Method-1: Using the mask tool in Google slides
Method-2: Using a free online tool (recommended)
Method-1: Using the mask tool in Google Slides

To make a picture circular in Google Slides, drag and drop the image into a slide.
Now, from the menu bar, locate the “Crop” tool and click on the down arrow next to it.
Select “Shapes” from the drop-down menu, and then “Oval” from the “Shapes Gallery”.
Finally, make the necessary adjustments to the image and shape.
Here’s how to make a picture circular in Google Slides:
- Drag and drop the image into a slide
- Click on the down arrow located next to the “Crop” tool
- Select “Shapes” from the drop-down menu
- Select “Oval” from the “Shapes Gallery”
- Adjust the image and the shape
1. Drag and drop the image into a slide

To begin, simply drag & drop the image onto the Google slide.
To achieve the perfect crop, make sure the subject is exactly in the center of the image. When you wish to make the image circular, a square image is best.
A rectangular image makes cropping extremely difficult. To avoid problems in step 5, make sure the image you are uploading is square.
Almost all picture formats are supported by Google Slides.
2. Click on the down arrow located next to the “Crop” tool

After you’ve uploaded the image, click on it to select it. Your image will have a blue border, indicating that you have successfully selected it.
Locate the “Crop” tool in the menu bar. The “Crop” tool is located just below the text that displays the most recently modified time/date.
Note: You won’t see the “Crop” tool unless you select the image.
3. Select “Shapes” from the drop-down menu

When you click the down arrow, a drop-down menu will appear with four options: Shapes, Arrows, Call outs, and Equation.
Select “Shapes” from the list of available options and proceed to the next step.
4. Select “Oval” from the “Shapes Gallery”

When you hover your mouse over the “Shapes” option, a secondary menu named the “Shapes Gallery” will appear. There are numerous shapes to choose from in the “Shapes Gallery.”
In this collection, Google Slides do not have the “circle” shape; instead, they have an “oval” shape.
So, from the gallery, choose the “oval” shape and move on to the next step.
5. Adjust the image and the shape

This is the most crucial and most difficult step. If you followed the first step correctly, you should have no trouble with this.
Your image will be turned into an oval shape as soon as you select the “oval” shape from the gallery.
When you double-click on the image, you’ll notice two frames: one grey and one blue.
Use the grey frame to adjust the shape, and the blue frame to adjust the image.
Since the shape is oval, you need to make some adjustments to make it look circle.
Click anywhere outside the oval and again single click on the oval to see the blue frame. Now drag the bottom crop handle to make the image look circular.
Hold down the “Shift” key on your computer while dragging the crop handles to make the image smaller or larger without affecting the shape.
Method-2: Using a free online tool
This is the easiest method to make a picture circular. Go to this website: https://crop-circle.imageonline.co/
Click on the “UPLOAD IMAGE” button and select the image you want to upload. Now, adjust the crop and use the mouse scroller to adjust the zoom.
Finally, click on the “CROP CIRCLE” button to see the output. Click on the “DOWNLOAD IMAGE” button to download the image.
To add this image to your Google slide, open Google Slides on your desktop browser, open the slide, and drag and drop the cropped image to the slide.
Here’s how to make a picture circular using a free online tool:
- Go to www.crop-circle.imageonline.co
- Click on the “UPLOAD IMAGE” button
- Adjust the crop and click the “CROP CIRCLE” button
- Click the “DOWNLOAD IMAGE” button
- Drag and drop the image on your Google slide
1. Go to www.crop-circle.imageonline.co
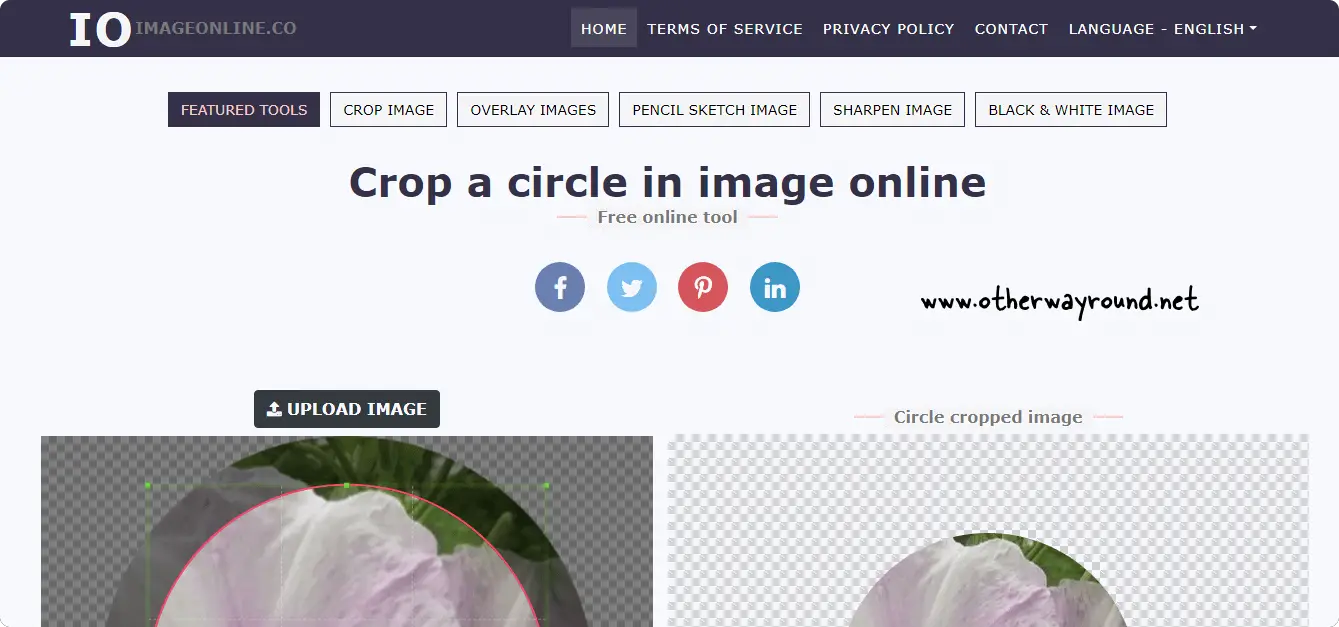
To begin with, go to www.crop-circle.imageonline.co. This is a free tool for making circular images.
There are many different free tools available online, but this is by far the easiest to use if you want to make a picture circular.
2. Click on the “UPLOAD IMAGE” button
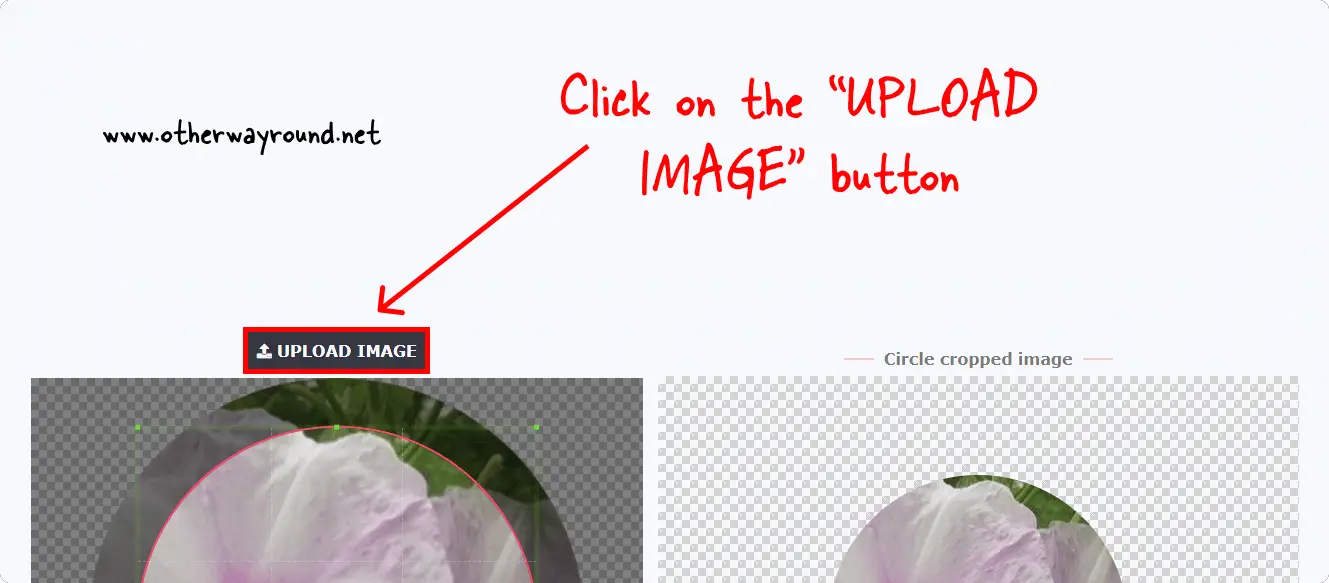
After you’ve opened the website, scroll down and look for a grey button titled “UPLOAD IMAGE”. Press the button. Select the image you wish to crop now.
Allow the image to upload. This process may take some time depending on your internet speed and the size of the image.
When you see your image on the website, it means you have successfully uploaded the image and are ready to move on to the next step.
3. Adjust the crop and click the “CROP CIRCLE” button
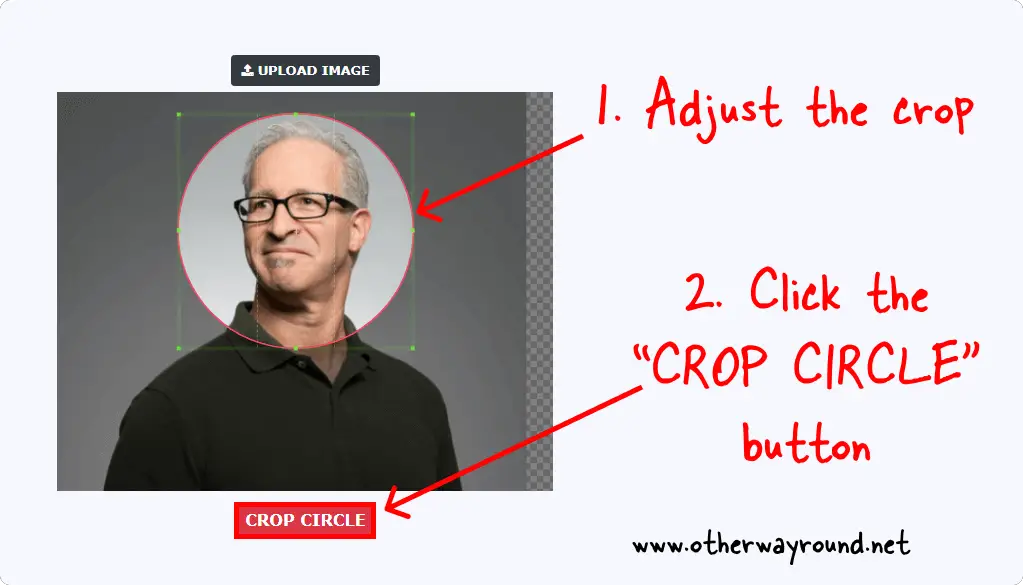
You’ll see a green and a red frame after you upload the image. To change the size of the image, drag the green frame. Everything outside the red circle will be cropped out.
Using your mouse scroller, adjust the zoom.
After you’ve made your crop adjustments, click the “CROP CIRCLE” button to crop the image.
4. Click the “DOWNLOAD IMAGE” button
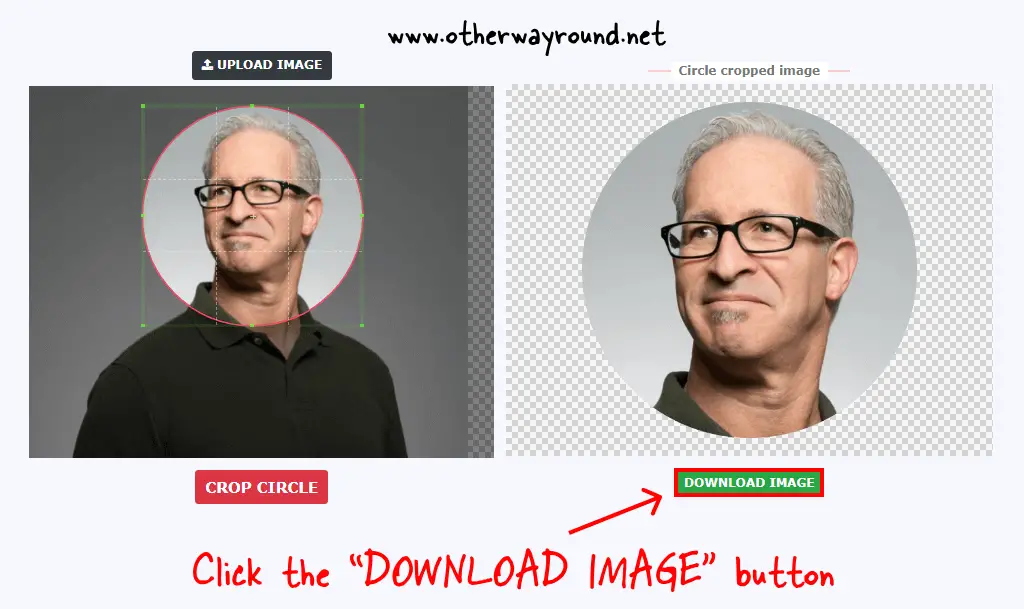
The results will be displayed on the right side. If you’re happy with the results, click the “DOWNLOAD IMAGE” button to get the cropped image.
If you believe the image still needs to be tweaked, return to step 3 and adjust the crop.
5. Drag and drop the image to your Google slide
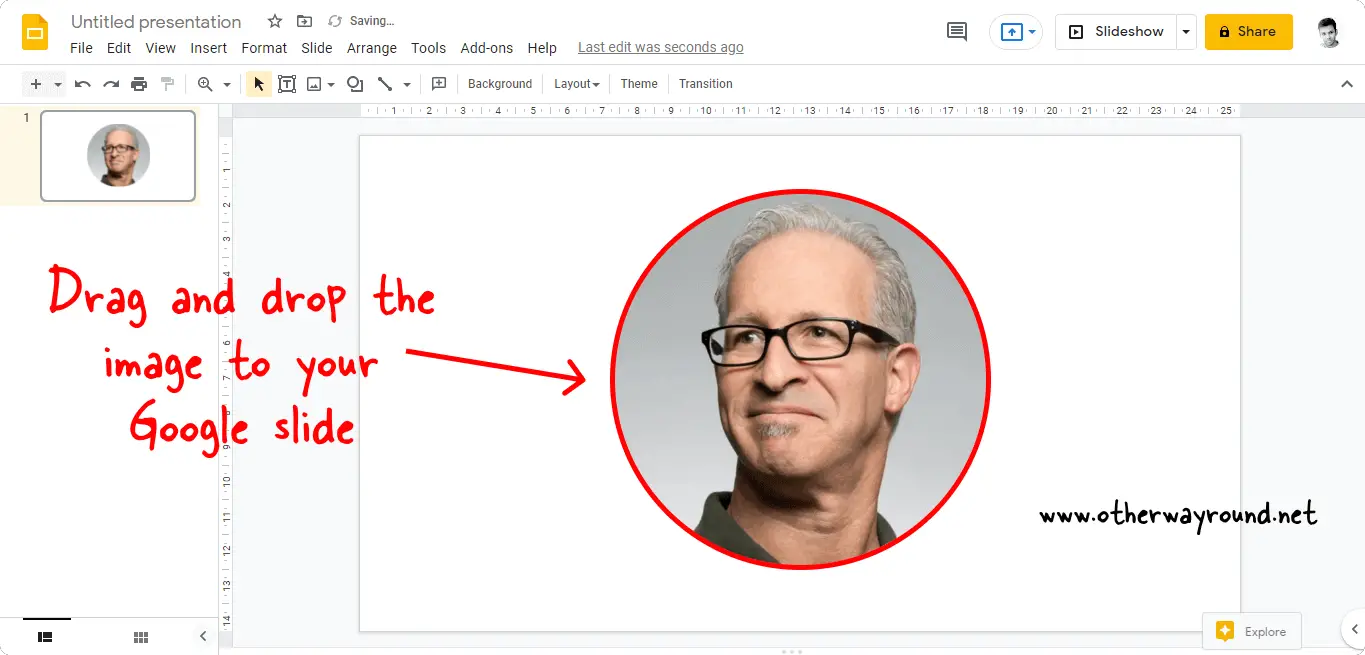
The final step is to simply drag and drop the downloaded image onto your Google presentation. If necessary, resize the image.
Conclusion
We hope you enjoyed our blog on how to make a photo in Google Slides circular. We understand that many people struggle with cropping images in Google Slides. That is why we created this simple guide. If you’ve already used Google Slides, follow the first method. However, if you are a newbie or in a hurry, follow the second method described in this article.
